How to Seal Your Concrete Driveway | Nava Concrete
Why Sealing Your Concrete Driveway Is Essential
Your concrete driveway takes a beating every day—rain, snow, sun, and even vehicle traffic. Without proper sealing, it’s like sending your driveway into battle without armor. Sealing acts as a protective barrier, preventing moisture, dirt, and oils from seeping into the surface and causing cracks, discoloration, and long-term damage. It’s an easy way to add years to your driveway’s life.
Think of sealing as an investment in your home. Not only does it protect your driveway, but it also enhances its appearance, giving it a clean, polished look. Plus, a well-sealed driveway can boost your property’s curb appeal and resale value. So, why wait for cracks and wear to take over when you can stop the damage before it starts?
Benefits of Properly Sealing Your Concrete Driveway
Sealing your concrete driveway is one of those little tasks that comes with big rewards. For starters, it makes cleaning a breeze—no more scrubbing away stubborn oil stains or dirt buildup. The sealant repels liquids, so spills sit on the surface rather than soaking into the concrete. Easy cleanup? Yes, please!
Another bonus? Sealed concrete is far more resistant to cracking and chipping caused by freezing and thawing cycles. Plus, a good sealant protects against UV rays, keeping your driveway’s color vibrant and fresh. It’s like giving your driveway a spa treatment—protective, restorative, and oh-so-worth it.
Tools and Materials You’ll Need for Sealing a Concrete Driveway
Before you dive into sealing, it’s essential to have the right tools and materials. Here’s a quick list to get you started:
- A pressure washer or hose for cleaning
- Concrete cleaner or degreaser
- A stiff-bristle brush for scrubbing
- Protective gear like gloves and goggles
- A high-quality concrete sealant
- A roller or sprayer for application
Having these tools on hand ensures the process goes smoothly. With the right materials, you’re setting yourself up for a professional-looking finish without the professional price tag.
Step 1: Preparing Your Concrete Driveway for Sealing
Preparation is key when it comes to sealing your driveway. Start by clearing the area of any debris, like leaves or dirt. This is your foundation for a smooth, clean seal. Next, use a pressure washer or hose to remove any remaining grime, stains, or grease.
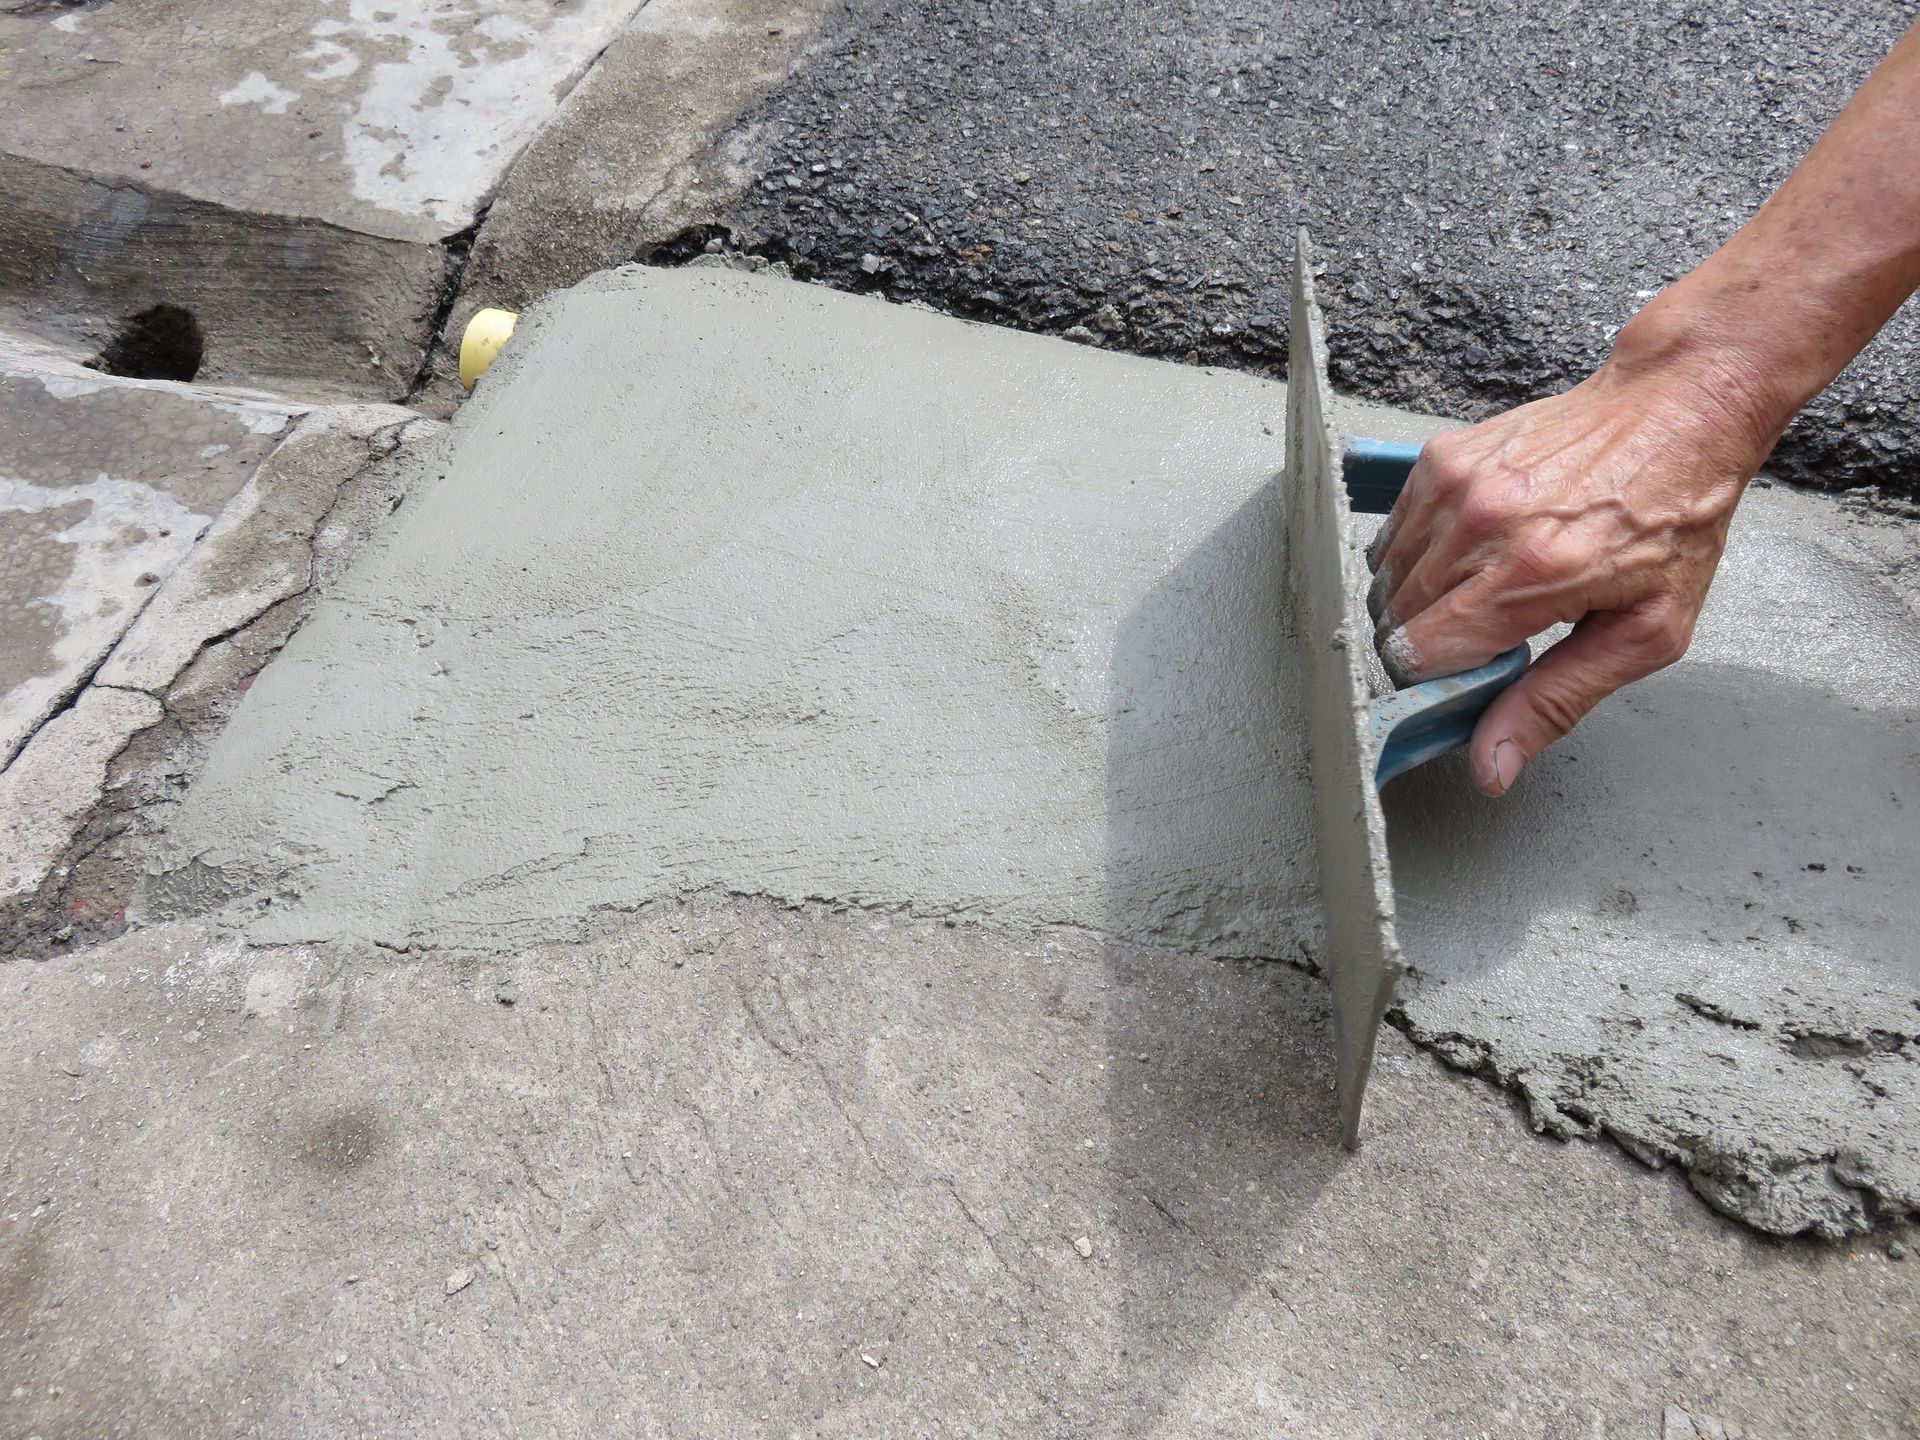
Once it’s clean, inspect the surface for cracks or chips. Repair these with a concrete patch before moving forward. Proper preparation ensures the sealant adheres evenly, giving your driveway maximum protection and a flawless finish.
Step 2: Cleaning and Repairing the Driveway Surface
A clean surface is non-negotiable for effective sealing. Begin with a concrete cleaner or degreaser to tackle stubborn stains. Scrub problem areas with a stiff-bristle brush for a deep clean. Rinse thoroughly and let the surface dry completely—it’s essential for the sealant to bond properly.
If you spot cracks, don’t panic! Apply a concrete patching compound to repair any cracks or gaps. Allow the patches to dry as directed before proceeding. This step might take a little extra time, but it’s worth it for a long-lasting seal.
Step 3: Choosing the Right Concrete Sealer for Your Driveway
Not all concrete sealers are created equal. When selecting a sealer, consider your specific needs. Are you aiming for a shiny finish or something more understated and natural? Is your driveway exposed to harsh weather or heavy traffic? These factors help determine whether you need a penetrating, acrylic, or epoxy-based sealer.
For most driveways, an acrylic sealer offers a great balance of protection and aesthetics. It enhances the concrete’s color while providing a durable, weather-resistant shield. Make the right choice, and your driveway will reward you with lasting durability.
Step 4: Applying the Sealer to Your Concrete Driveway
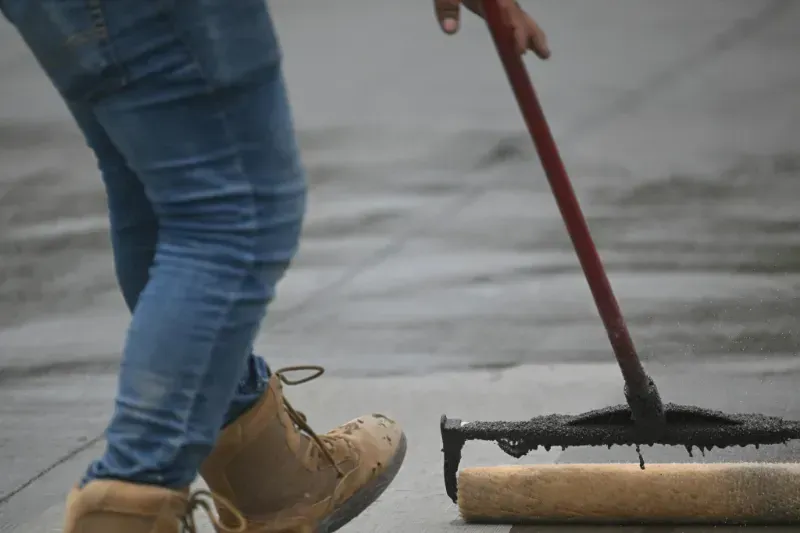
Now comes the fun part—applying the sealer! Start by pouring it into a paint tray or sprayer, depending on your chosen application method. Begin at one end of the driveway and work your way to the other, applying an even coat with a roller or sprayer. Take your time and apply the sealer evenly for the best results.
Wait for the first coat to dry fully before determining whether a second layer is needed. Adding a second coat offers additional defense, particularly in areas with heavy use. Once done, let the sealant cure for the recommended time—usually 24 to 48 hours—before using your driveway.
Keeping Your Sealed Concrete Driveway in Great Condition Over Time
Sealing is just the first step; maintenance ensures your driveway stays in tip-top shape. Sweep regularly to remove dirt and debris, and clean up spills as soon as they happen. The less grime sitting on the surface, the longer your sealant will last.
Inspect your driveway periodically for signs of wear or damage. If you notice water no longer beads on the surface, it might be time to reapply the sealer. With a little care, your sealed driveway can stay looking fresh and flawless for years to come.
Avoid These Frequent Errors When Sealing Your Concrete Driveway
Even with the best intentions, mistakes can happen. One common error is applying the sealer to a dirty or damp surface. This prevents proper adhesion and reduces the sealer’s effectiveness. Always clean and dry your driveway thoroughly before starting.
Another pitfall is over-applying the sealer, which can leave a sticky or cloudy finish. Stick to the manufacturer’s instructions for the best results. Avoiding these mistakes ensures a smooth, professional-looking seal that lasts.
Call Nava Concrete for Expert Driveway Sealing in Vancouver, WA
Sealing your concrete driveway doesn’t have to be a daunting task. With the right preparation and guidance, you can protect your driveway and keep it looking fantastic. For homeowners in Vancouver, WA, who want expert help, Nava Concrete is here to make the process easy and stress-free.
Give us a call today at (360) 721-8093 to schedule your driveway sealing service or request a free quote. We’re here to safeguard your investment while boosting the beauty of your property. Your concrete driveway deserves the best—let Nava Concrete deliver it!
CONTACT US
You can also find us here:
QUICK MENU
All Rights Reserved | Nava Concrete LLC

